How to Use Index Cards to Plot a Family History


I’m known as a plotter. This means I love to outline my stories in great detail before I begin to write. For me, it’s like creating a road map of a story from start to finish. It allows me to organize my story so that when I start to write I know exactly what I’m writing and where I’m going with the story. It eliminates sitting and staring at my computer screen in that deep dark hole known as writer’s block.

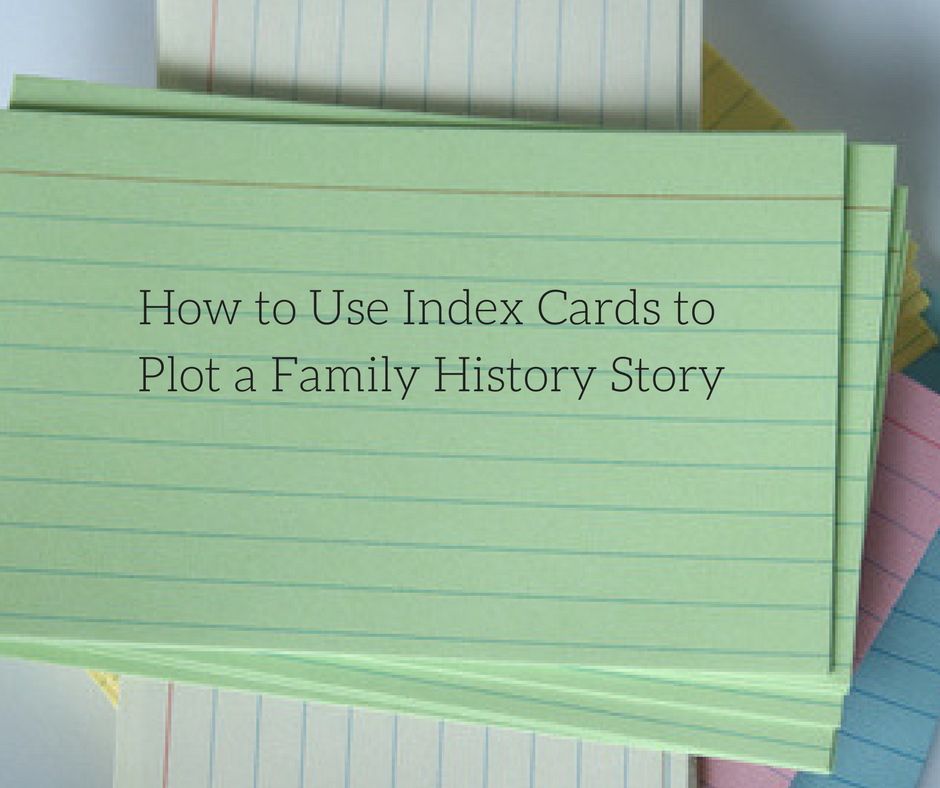
I use index cards to create this map. Each index card represents a scene or a summary. A creative nonfiction story is comprised of scenes and summaries and having those scenes carefully thought out in advance can help keep you organized and writing every day. Check out my scene building cards that I designed just for family history writers.

Once I have my story mapped out with my index cards, then I can begin to write my first draft.

While index cards may seem a rather old-fashioned method for outlining it is with good reason it’s still around, it works. Of course, just as technology has impressed itself on every aspect of our lives even the little old index card has not gone untouched by the digital world. You can still use paper index cards if you are tactile, and like the physical feel of a paper card in front of you. I love to lay out my index cards on a corkboard in my office it keeps my story in front of me and top of mind.

There are plenty of digital index cards available today that have replaced the paper card. For instance, Scrivener offers index cards on a corkboard so that you can storyboard your family history within the writing program. Check out this video to see how to use the Scrivener corkboard. Scrivener also offers the ability to print off those cards so you can still have those paper cards to shuffle around on a physical corkboard.

There are plenty of apps for index cards, the Corkboard Writing app, and the Index Card app are just a couple. Most are available for iPads and iPhones. Check the Apple App store for a selection.

Elements of an Index Card

An index card will record either a scene or a summary on the card. On each card, you will record bullet points to help you write that particular scene or summary. Here is an article that explains the difference between scene and summary.

Scene cards should contain a few basic elements that will help you to write the scene when it comes time to put pen to paper.

Who – the primary ancestor in the scene

Scene Goal – your ancestor hopes to accomplish an explicit goal with the scene. Read here about scene goals.

Action – what physically happens in the scene.

Setting – Where and when does it happen? Indoors? Outdoors? Time of year, day, place, etc.

Conflict – within the scene is conflict, tension or suspense.

Inner Journey– how is your ancestor emotionally affected by the outer journey or action happening in the scene.

Theme – Do the details in the scene support the theme you have created?

Index cards are another tool in our writer’s toolbox that helps us to break down our writing into manageable tasks, keeping us from becoming overwhelmed and hitting that all too familiar writer’s block.

Writing a Family History Scene (1)

Want to learn more about how to write to write a family history scene consider our upcoming class, Writing a Family History Scene.?????????????????????????????

To understand how to format a story using scene cards, consider joining us for our upcoming course Plotting a Family History Story or our e-workbook, Finding the Story. Also available on Amazon in paperback.

Related Post

What is a Plot and Why Your Story Needs One?What is a Plot and Why Your Story Needs One?

If you’re not a member of our Facebook Family History Writer’s Group, then you’re missing out on our Facebook Live videos.  Every other week, I offer a small writing lesson on writing your family history stories. We have an awesome group of writers from beginners to those who have been writing for a while. It’s a supportive and nurturing place to meet up and ask your questions and seek advice.

This week I thought I would share with you last week’s lesson. What is a Plot and Why Your Story Needs One?


https://facebook-live-videos-1.wistia.com/medias/hxs5q8lpq8?embedType=async&videoFoam=true&videoWidth=640

Join Us For Upcoming Online Course Plotting a Family History Story

[button url=”https://www.familyhistorywritingstudio.com/shop/courses/plotting-a-family-history-story-fall-class-2/” class=”blue” bg=”” hover_bg=”” size=”22px” color=”” radius=”0px” width=”0px” height=”0px” target=”_self”] Click to Learn More [/button]

4 Steps to Structuring Story Scenes4 Steps to Structuring Story Scenes

If you’ve made the decision to use creative nonfiction to write your family history story then at some point, you’ll need to consider how you want to structure that story. In fiction writing, we call this the plot, in nonfiction, structure, but it is for all intense purposes the same thing. We want to consider the order in which we are going to tell the events in our story so that they bring the biggest impact to the reader.  How will they best deliver suspense and tension for the reader and bring them on an emotional journey with their ancestor. The structure is critical to keeping your reader tuned into the story and turning the pages to the end.

Here are four steps to consider when organizing that structure for your family history story.

Before I start any piece of writing, I brainstorm my ideas about a story. I jot down the scenes I see in my head, mull over ideas, themes, and the ancestors I’ll include in the story. I consider from whose perspective I will tell the story, which ancestor will be my primary ancestor. I think about my ancestor’s goal and his motivation. I consider what obstacles he had to overcome and what was at risk if he didn’t reach his goal. I often do a lot of this brainstorming in a mind mapping software called Scapple. Scapple is from Literature and Latte, the same great company that makes Scrivener. Once I have all my rough ideas down in a mind map, I begin to see if I can shape them into a story that I feel can withhold my reader’s attention.
Now with my mind map in hand, I follow these four steps to organize those ideas into a story plan.

1. Establish Major Events. 

First, I identify the major turning points or events that happen in my ancestor’s story.  I determine these major events by asking myself did this event force a change in my ancestor’s life, were they obstacles my ancestor needed to achieve to reach his goal. I like to use a story map, a visual tool, to plan out these events. I make a list of the biggest and most critical events I want to include and how they relate to my story question. I plot them on a story map using a traditional narrative arc that shows the rise of action and tension in the story. Sometimes, it takes some playing around until I feel I have the right events, in the correct order.

While doing this, I keep in mind the general order in which they’ll appear in the story, particularly in respect to the basic three parts of a story. I look for the beginning with an inciting incident that pushes my ancestor out of ordinary life, a middle crisis that works toward that most critical moment and then the final climax, when my ancestor overcomes his last obstacle that eventually leads to a resolution.

2. Look for the Layers of the Story.

Next, I look at the layers of my story. There are three layers to a story. First, we have the dramatic action, which is the physical action. We identified the physical action already through our events in step one.

Secondly, I look for the internal conflicts, the flaws or weaknesses in my ancestor’s makeup that holds him back from his accomplishments, which he eventually overcomes to reach success.

Thirdly, I look for the meaning, what will my readers take away from this story. What universal importance can my readers identify with in their ancestor’s life?

My goal is to have all three layers in my story. Sometimes they won’t always be evident immediately; it might take a draft or two for them to reveal themselves. But eventually they will show themselves. When writing these layers into the story, we want them intertwined. The more intertwined they are, the better. It’s my job as the writer to make sure as the story unfolds, to braid  the strands together as smoothly as possible, until, by the end, the reader can’t easily distinguish where one starts, and one stops.

3. Create the Framework of the Outline.

I then create a storyboard grid that will serve as my tool to outline my story. I place my key plot points those critical turning points we plotted on our story map, and we write them on a storyboard grid in three distinct sections, the beginning, middle and end. I then begin to fill in the scenes that lead me from one major turning point to the next. On index cards, I write a couple of sentences identifying what each of these scenes looks like. I’ll also decide where I need summaries to help me move from one scene to the next.

4. Outline the Scenes.

Once we have a good outline of scenes, we can begin to expand the few sentences that are on each index card. Develop the scene that you imagine by continually expanding the few sentences you recorded on each index card. Eventually, these few lines that you outlined can now begin to develop into a full scene. Before long, scenes slowly become chapters, and chapters become a book.

That’s it, 4 steps to outlining your story scenes and organizing them.  Taking a few minutes in organizing your ideas into a plan before you begin to write goes a long way to keeping a story organized, it will hold off that infamous writer’s block because you will know what to write each day. It also generally results in a lot less rewriting later if you start with a plan at the beginning.

You’ll find much more about plotting and outlining with scenes, how to use mind maps, story maps, a story grid and index cards to structure your family history story in my new workbook, Finding the Story, now available in our store.