“Writing in scenes represents the difference between showing and telling. The lazy, uninspired writer will tell the reader about a subject, place or personality, but the creative non-fiction writer will show that subject, place or personality, vividly, memorably-and in action, in scenes.
Lee Gutkind, You Can’t Make Stuff Up
Writers are told all the time to show not tell. What does that exactly mean? How does that apply to narrative nonfiction and specifically family history stories?
Narrative nonfiction is comprised of summary and scenes. Simply put, summary is telling, and scenes are showing. To show in nonfiction, we must include scenes and not just summary. Your family history stories are likely boring because you are only using summary, you are only telling. To make your stories entertaining and compelling, so that they read like a good book you must embrace scenes. Scenes are the half of the nonfiction equation that brings a family history story to life.
What is a family history scene?
In the case of family history, a scene recreates an event or an experience for the reader from your ancestor’s life. For example, getting on a ship to America, voting for the first time, giving birth, getting married, proposing to a future spouse or signing documents to own their first land.
These scenes are recreated from details pulled from a document, a picture, a diary, a letter. Maybe details are derived from a newspaper article, or an interview or a recalled conversation. These scenes might rely on social, local, regional or world history to help recreate them on the page. You’ll likely require a combination of these sources to bring a scene to the page.
A scene shows the action in real time. The reader is placed immediately in the event as if it is playing out before our eyes. A scene is filled with description, detail and dialogue, necessary to bring the scene to life. The more specific you can be the more real it becomes for the reader.
Jumping into writing scenes can be overwhelming for new writers. The best place to start is by learning to show, one sentence at a time.
Examples
Telling
Tom walked every Sunday to church.
Showing
Tom strolled along the dusty road to church, adorned in his freshly pressed Sunday shirt, the starch collar scratching at his neck.
Telling
Grandma baked a pie.
Showing
The cinnamon apple pie cooled on the kitchen window sill, the golden crust glistened, and the sweet smell surrounded Grandma’s house as we ran through the front door.
See the difference. In the showing examples, above we get a vivid picture that we can imagine in our mind’s eye the setting and action. It gives us the feeling of being there and experiencing it for ourselves.
3 Steps to Start Showing in Your Ancestor’s Stories
- Use strong active verbs. I could have used “Tom walked” but the verb ‘stroll’ conjures up a more specific image. I could have used hustled, or ambled or skipped, all would have provided a clear picture of Tom and his actions.
- Use specific nouns and precise adjectives in descriptions that paint a picture for the reader. For example, Grandma’s pie on the windowsill paints a very clear picture. It’s not just a pie but a cinnamon apple pie. Be specific in your details and descriptions.
- Use Sensory Details. – Don’t just tell us how something looked, show us how it looked, smelled, sounded, tasted and felt. Use all your senses, of course not all in the same sentence. We not only see Tom in his freshly pressed shirt, but we feel it scratching. And of course, we smell Grandma’s pie as we approached the house.
Start practising showing in your family history stories by using these three steps to start transforming your sentences into showing sentence instead of telling sentences.
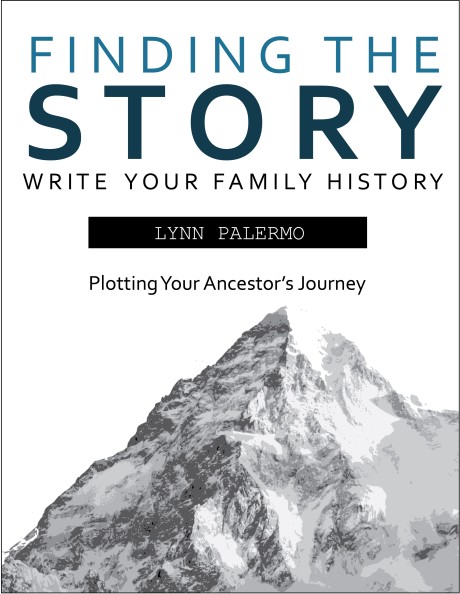
Want to learn how to build a scene and connect them into a story, consider workbook #4 in the Write Your Family History series. Crafting a Scene, Showing Your Ancestors in Action walks you through building scenes and connecting those scenes into a complete story. Or consider our upcoming course Writing a Family History Scene and get hands on practise building and writing scenes. This course will transform your writing.